Journal

5 Essential Tips for Maintaining Your 100% Virgin Human Hair Wig ✨
So, you’ve invested in a gorgeous, luxurious 100% virgin human hair wig from Dark Shugar. First of all, excellent choice! 👏 You’ve already skipped the drama of shedding, tangling, and synthetic shine. But here’s the secret no one tells you: a premium wig is like a fine leather bag or a thriving houseplant—its longevity is all about how you care for it. That promise of your Dark Shugar wig lasting up to 5 years? It’s absolutely achievable, but it’s a team effort. Your wig is ready to slay; you just need to provide the right backup. Think of this less as a chore list and more as your wig’s personal wellness routine. Follow these five essential tips for maintaining your virgin human hair wig, and you’ll keep that flawless, fresh-out-the-box look for years to come. 1. The Golden Rule: Master the Wash Day Ritual 🧴 Washing is the single most important step in human hair wig care. Do it right, and your wig will reward you with bounce, shine, and manageability. Do it wrong, and well… let’s just avoid that altogether. How Often? Don’t overwash! Washing too frequently strips the hair of its natural oils. A good rule of thumb is every 10-14 wears, or when you notice a buildup of product. If you’re using heavy gels or sprays, you might need to wash it a little sooner. The Step-by-Step Process: Detangle First, Always: Before your wig even sees water, gently brush it out. Start from the ends and work your way up to the roots with a wide-tooth comb or a soft wig brush. This prevents nightmare tangles during the wash. The Co-Wash Advantage: For most virgin hair wigs, a co-wash (conditioner-only wash) is often enough to refresh the hair between full washes. It cleanses lightly while adding moisture. Lukewarm is Your Best Friend: Always use lukewarm water. Hot water can damage the hair cuticles and loosen the knots on the lace base. Sulfate-Free is Non-Negotiable: Use a gentle, sulfate-free shampoo and a rich moisturizing conditioner. Sulfates are harsh and will dry out your hair faster than you can say "bad hair day." The Gentle Pat-Dry: After rinsing, never wring out your wig. Gently squeeze out the excess water and pat it dry with a microfiber towel. Rubbing with a regular towel creates frizz and tangles. Air Dry, Then Style: Let your wig air dry on a wig stand. This is non-negotiable. Avoid using high heat directly on the wet hair. Once it’s about 80% dry, you can then style it with heat tools on a low setting. Pro Tip: After conditioning, try the "ice water rinse." Rinsing with cool water for a final 30 seconds helps to seal the hair cuticles, locking in moisture and boosting incredible shine. 2. Taming the Heat: Your Styling Tool Guide 🔥 The beauty of a 100% virgin human hair wig is that you can style it just like your own bio hair. But with great power comes great responsibility. Heat Protectant is a Forcefield: Never, ever use heat styling tools without a heat protectant spray. It creates a barrier between the heat and your wig’s hair, preventing damage, split ends, and dryness. This is the easiest thing you can do to extend your wig’s life. Low and Slow Wins the Race: You do not need to crank your flat iron to 450°F. Virgin hair responds beautifully to lower heat settings. Start at around 250°F - 300°F. It’s better to pass over a section twice on a lower setting than to fry it once on a high one. Embrace Heat-Free Styles: Give your wig a break! Some of the most gorgeous styles are heat-free. Try braid-outs, twist-outs, or sleek low buns. Your wig will thank you for the vacation from heat, and you’ll discover new looks. 3. The Secret to Tangle-Free Bliss: Smart Storage 😴 Where your wig lives when it’s not on your head is crucial. Throwing it in a drawer or on the floor is a one-way ticket to Tangleville. Invest in a Wig Stand: This is the #1 tool for long-lasting wigs. Not only does it allow your wig to air dry perfectly, but it also helps it maintain its shape and style. It prevents the cap from getting crushed and the fibers from tangling. 🖼️ [Image Suggestion: A beautiful Dark Shugar wig resting on a styrofoam wig stand.] The "Pineapple" Method for Long Wigs: If you’re storing a long wig for a short period, loosely gather it into a high ponytail on top of the head (like a pineapple) before putting it on the stand. This prevents the ends from rubbing and tangling. For Long-Term Storage: If you’re rotating wigs and won’t use one for a while, give it a fresh wash, let it air dry completely, and store it in a satin or mesh breathable bag. Never store it in plastic, as this can trap moisture and cause mildew. 4. Product Protocol: Less is More 🌱 When it comes to products on your human hair wig, you must be a discerning connoisseur. Avoid Heavy Buildup: Heavy oils, butters, and silicone-based products can build up on the hair, making it look dull, lifeless, and greasy. They also attract dirt and force you to wash more frequently. Focus on Lightweight Moisture: Opt for lightweight serums, leave-in conditioners, and light oils (like argan or jojoba) applied sparingly to the mid-lengths and ends. Remember, the goal is to mimic healthy hair, not to drown it. Protect the Lace: When applying edge control or gel near the hairline, be careful not to get it on the lace frontal or closure. This can clog the delicate lace and weaken the knots. 5. The Foundation of It All: Cap Care & Rotation 👒 We focus so much on the hair we forget what holds it all together: the cap. Gentle Cleansing: When you wash your wig, be extra gentle with the cap. Don’t aggressively scrub the lace, as this can damage it. Let the Cap Dry Thoroughly: After washing, ensure the inside cap is completely dry before storing it. A damp cap is a breeding ground for bacteria and unpleasant odors. The Power of Rotation: If you can, own more than one wig. Rotating between two or three wigs is the ultimate hack for how to make a wig last. It gives each piece a rest, significantly reducing daily wear and tear. Your Wig is an Investment—Protect It! Following these steps for maintaining your virgin hair wig isn’t just about preservation; it’s about getting the maximum value and joy from your Dark Shugar investment. A well-cared-for wig continues to look and feel incredible, saving you money and ensuring you always have that perfect, confidence-boosting look on demand.
Learn more
Body Wave vs. Straight Hair Extensions: Which Style is Right For You?
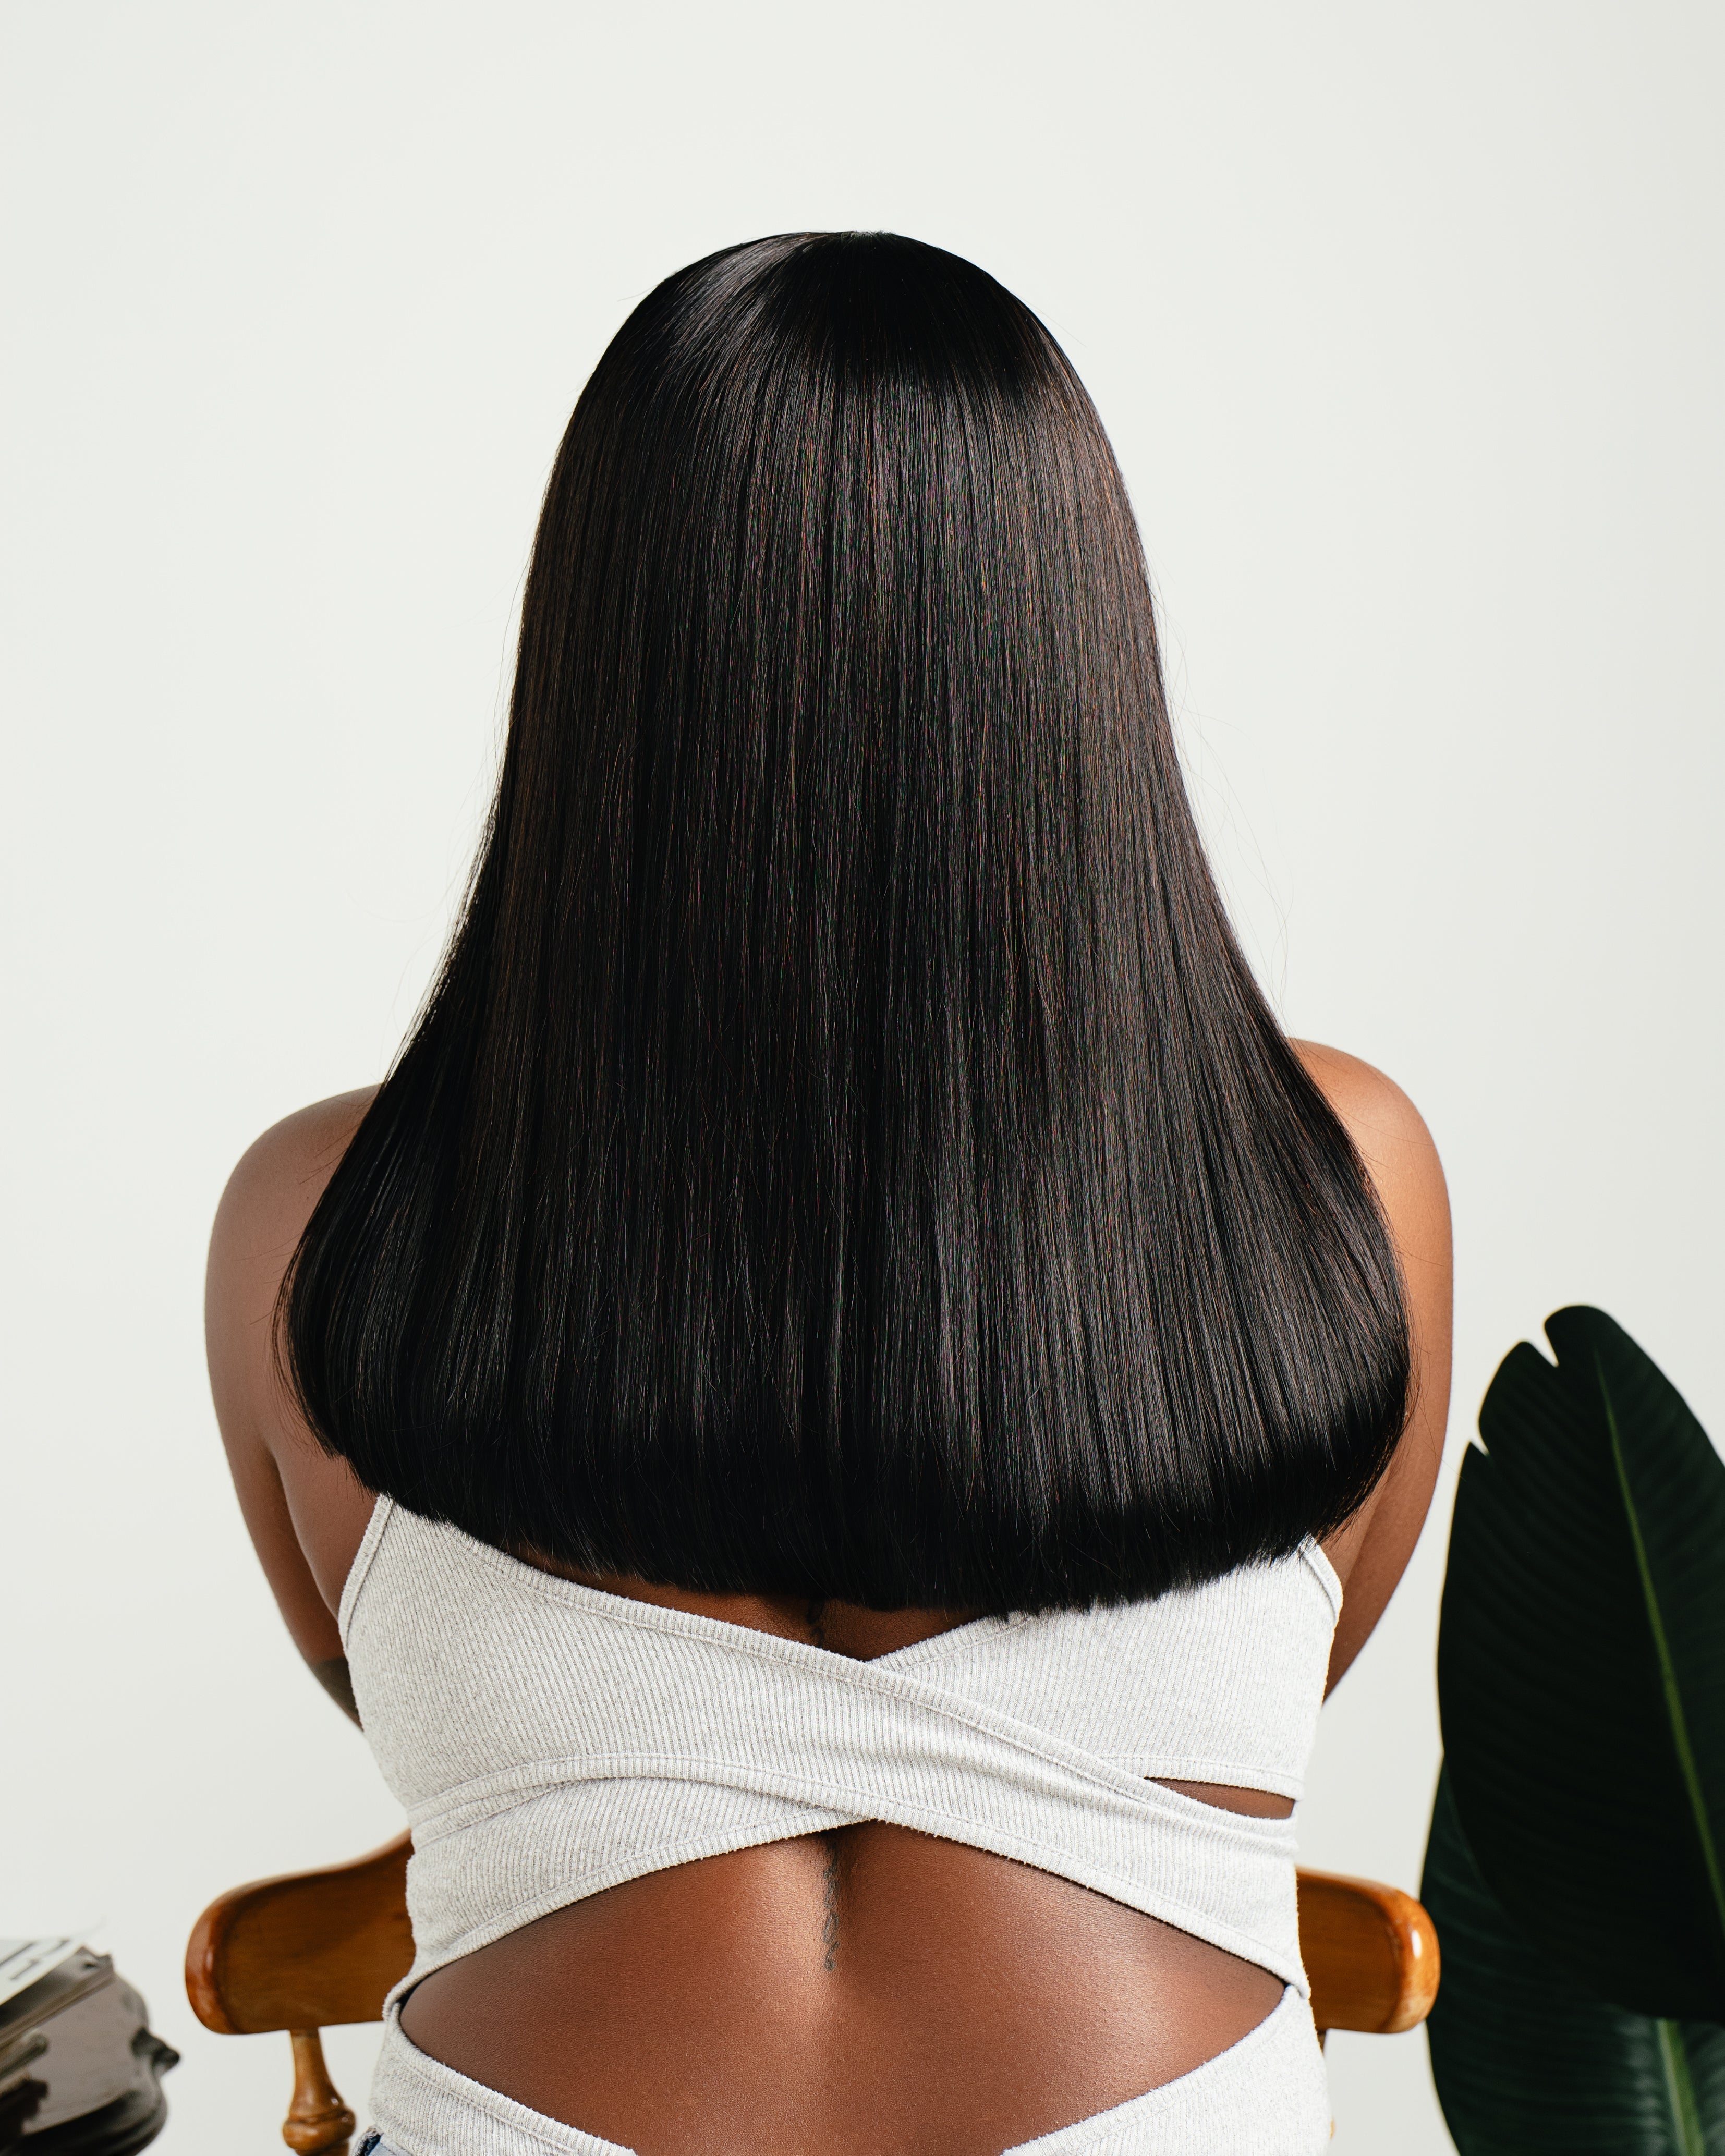
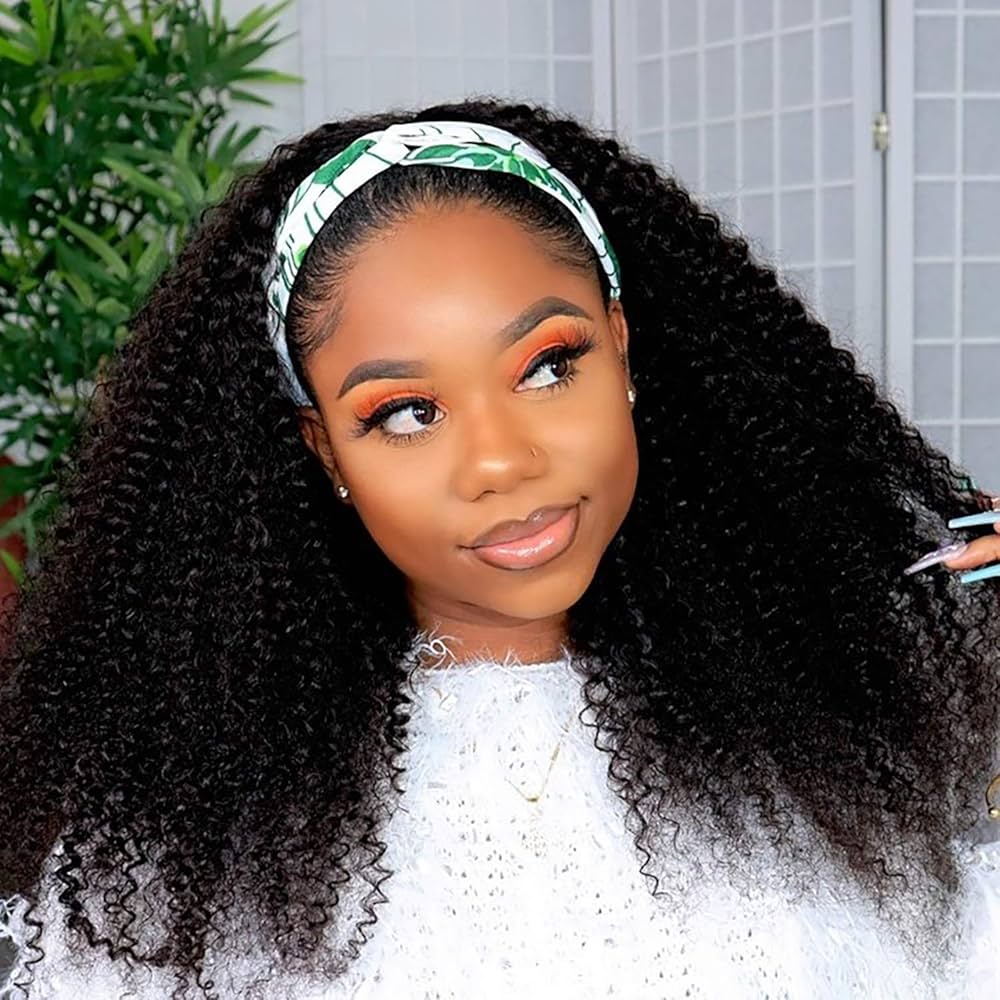
So, you’ve decided to elevate your look with 100% virgin human hair extensions. Congratulations! 🎉 This is the first step toward endless good hair days. But now comes the big question staring you down from your screen: Body Wave vs. Straight. Choosing between these two iconic textures is like choosing your superhero alter ego. One is sleek, powerful, and effortlessly chic. The other is voluminous, romantic, and full of bounce. Both are amazing, but which one is the perfect fit for your life, style, and vibe? This isn't just about what's trending; it's about what will make you feel most confident and beautiful every single day. Let's break down the glorious details of Body Wave and Straight hair textures to help you decide which one deserves a spot in your cart. The Foundation: What Are We Really Talking About? Before we dive into the battle of the textures, let's get our definitions straight (and wavy!). Straight Hair (e.g., Burmese Straight): This texture is exactly what it sounds like. It’s silky, smooth, and flows directly downward without any curl or wave pattern. Think classic, timeless, and razor-sharp precision. Body Wave: This is the "your hair but better" of textures. It features loose, S-shaped waves that create incredible volume and body. It’s not tight curls; it’s a soft, romantic, and effortless wave that’s universally flattering. Round 1: The Style & Versatility Showdown This is where your personal style takes center stage. The Case for Straight Hair Extensions If you're a fan of minimalist beauty and clean lines, straight hair might be your soulmate. Sleek & Sophisticated: Straight hair exudes a powerful, polished, and professional vibe. It’s the go-to for a look that says, "I mean business." It’s incredibly chic in a high ponytail, a low bun, or simply worn down like a glossy curtain. The Perfect Canvas: Think of straight hair as a blank slate. It’s the easiest texture to style because it holds any curl you put into it. Want loose waves today and tight curls tomorrow? Starting with a straight base gives you the most flexibility and ensures your styled curls are smooth and defined. Timeless Appeal: Trends come and go, but sleek, straight hair is forever classic. It never looks out of place. Who it's for: The minimalist, the professional, the trendsetter who loves to change their style daily, and anyone who loves a sharp, defined look. The Case for Body Wave Hair Extensions If you love volume, romance, and a touch of bohemian flair, body wave is calling your name. Volume & Body, Instantly: The name says it all. Body Wave is famous for its built-in volume and movement. The waves create a natural-looking fullness that thinner hair types dream of. It’s a cheat code for gorgeous, head-turning hair. Effortlessly Beautiful: This texture is the master of deception. It looks like you spent hours with a curling wand when you really just woke up like this. It’s the definition of low-maintenance, high-impact hair. A little tousling, and you're good to go. Naturally Forgiving: The wave pattern is brilliant at hiding minor imperfections or blending layers seamlessly. It also tends to hold styles well and can be easily brushed out for a looser wave or straightened for a different look. Who it's for: The romantic, the boho-chic enthusiast, anyone seeking maximum volume, and those who prefer an "effortless" routine. Round 2: Maintenance & Upkeep Let's get real about the daily routine. Straight Hair Maintenance The Daily Grind: To keep that pin-straight perfection, you’ll need to blow-dry and flat-iron it regularly. This can mean more heat exposure over time. The Oil Slick Alert: Straight hair can show oil and product buildup more quickly than textured hair. You might find yourself reaching for dry shampoo a little sooner. Tangle Tendencies: While generally smooth, straight hair can be prone to tangling at the ends if not properly cared for and brushed regularly. Body Wave Maintenance The Low-Key Winner: Body Wave hair is famously low-maintenance. The texture itself hides a multitude of sins, including oil and the need for constant washing. You can often go longer between washes. Air-Dry Friendly: You can literally wash this hair, let it air dry, and walk out the door with a beautiful, defined wave pattern. It’s a lifesaver for those who want to minimize heat styling. Taming the Frizz: The wave can sometimes get frizzy in humid climates. A good anti-humidity serum is a must-have in your arsenal. Verdict: If you want to minimize heat styling and maintenance, Body Wave has a slight edge. If you don't mind the regular heat routine for that sleek look, Straight hair is manageable. Round 3: The Final Decision Matrix Still can't decide? Ask yourself these questions: 1. What is my natural hair texture? If your bio hair is straight, straight extensions will blend seamlessly. If your bio hair has any wave or curl, body wave will likely be easier to blend without using excessive heat. 2. What’s my everyday style? Corporate Chic? Straight. Creative & Boho? Body Wave. A Mix of Both? You can't go wrong with either, as both can be styled differently! 3. How much time do I want to spend styling? Low Time/Effort: Body Wave. Don’t Mind a Routine: Straight. 4. What is my goal? "I want volume and texture." -> Body Wave. "I want length and a sleek look." -> Straight. The Dark Shugar Advantage: Quality is Key No matter which virgin hair texture you choose, the foundation of a great look is quality hair. Dark Shugar’s 100% virgin human hair ensures that: Your straight hair will be silky without being overly shiny or plastic-looking. Your body wave pattern will be consistent, bouncy, and hold its shape wash after wash. Both textures will be durable, minimal-shedding, and capable of being styled and colored just like your own hair. Ultimately, the "best" texture is a deeply personal choice. It’s the one that makes you feel the most powerful, beautiful, and you.
Learn more
How to Achieve a Flawless, Salon-Perfect Wig Install at Home
Let’s be real: we’ve all seen those wig tutorials that make it look as easy as slipping on a hat. You get your gorgeous, ready to wear wig from Dark Shugar, you try to replicate the steps, and… well, let’s just say the result isn’t exactly what you envisioned. 🤦♀️ Achieving that undetectable, flawless wig install—the kind that makes people ask, “Is that your real hair?”—feels like a secret only salon stylists know. But what if we told you that secret is actually a simple formula? The truth is, that salon-perfect finish is within your reach. It’s not about magic; it’s about method. With the right preparation, technique, and a few pro tips, you can absolutely master a DIY wig installation that rivals a professional job. Grab your wig stand and your favorite moisturizer. We’re about to break down the step-by-step process to give you the confidence to install your wig like a pro, right in your own bathroom. Pre-Installation: The Foundation of Flawlessness You wouldn't build a house on a shaky foundation, and you shouldn’t install a wig on an unprepared base. This is the most crucial part of the entire process. Step 1: Prep Your Natural Hair The goal is to create as flat and smooth a canvas as possible. Braiding or Plaiting: For longer or thicker hair, cornrows are your best friend. Braid your hair flat against your head in a pattern that follows the shape of your skull (often back-to-front or in a circular pattern). This distributes hair evenly and prevents bulky bumps. The Wig Cap Method: For shorter or finer hair, a simple, low ponytail or pinning your hair flat might suffice. Always, and we mean always, follow up with a wig cap. Choose a cap that matches your scalp tone for the most seamless blend. Step 2: Prep Your Skin & Edges Cleanse Your Scalp: Use a gentle alcohol-free wipe around your hairline to remove any oils or moisturizers. A clean, dry surface helps adhesives stick better. Protect Your Skin: Apply a skin-protectant product or a thin layer of scalp protector around your hairline. This creates a barrier between the adhesive and your skin, making removal easier and preventing irritation. Tame Your Edges: Gently style your baby hairs with a toothbrush and a light-hold gel before you put the wig on. This saves you from struggling to reach them later. Step 3: Prep Your Wig Your Dark Shugar wig is glueless and ready to wear, but a little customization takes it to the next level. Pluck the Parting: Use tweezers to gently pluck a few hairs from along the parting and the hairline of the wig. This creates a more natural, sparse look that mimics a real scalp. Go slow—you can always pluck more, but you can’t put hair back! Trim the Lace: Try the wig on over your cap and carefully mark where your natural hairline is. Lay the wig on a mannequin head and, using sharp scissors, trim the excess lace as close to the hairline as possible. The Main Event: The Installation Process Now for the moment we’ve all been waiting for. For a Glueless Install (The Dark Shugar Specialty): This is the fastest and most beginner-friendly method, perfect for our glueless wig tutorial. Position: Place the wig on your head, starting from the front of your hairline and sliding it back. Align: Ensure the wig’s parting is where you want it and that the ear tabs are aligned with your own ears. Secure: Adjust the adjustable straps inside the cap for a snug fit. Most glueless wigs have combs inside; gently push these into your wig cap or your own braids for extra security. Blend: The built-in baby hair around the wig’s perimeter is designed to be brushed out and blended with your own. For a Glued/Lace Front Install (The Ultimate Hold): If you need your wig to withstand wind, rain, or a vigorous headbang, this is your method. Apply Wig Grip (Highly Recommended): A velvet wig grip band is a game-changer. It wraps around your head, providing a sticky surface for the wig to cling to without any glue on your skin. Or, Apply Adhesive: If using tape or liquid adhesive, apply it to your skin along your hairline (following the product's instructions). Let it become tacky. Place the Wig: Carefully position the wig on your head, starting at the front and pressing the lace down onto the adhesive or wig grip. Press & Hold: Once the wig is in place, press firmly along the hairline with the back of a comb or your fingers (wrapped in a silk scarf) to ensure a solid bond. Let it Set: Give the adhesive a few minutes to fully set before styling. The Final Touch: Styling & The Illusion of Reality This is where the magic happens and your install goes from "good" to "Is that even a wig?!" Conceal the Part: Use a concealer or powder that matches your scalp tone on the parting space. This makes the lace disappear completely. Blend, Blend, Blend: Gently brush out the baby hairs of the wig and blend them with your own natural edges. Use a light-hold edge control to make them lie flat and natural. Style with Confidence: Now that your wig is secure, style it as you wish! Curl it, put it in a ponytail, or leave it sleek and straight. Because you started with a secure foundation, you can style with confidence. Pro Tips for a Truly Flawless Finish The Right Tools: Have everything you need within arm’s reach: tweezers, sharp scissors, wig grip, adhesive, concealer, a mirror, and a hand mirror to check the back. Practice Makes Perfect: Your first try might not be perfect, and that’s okay! The more you practice, the faster and better you’ll become. Listen to Your Skin: If you're using adhesive, always do a patch test 24 hours before to ensure you don’t have a reaction. No Salon Needed: Remember, the goal of a DIY wig installation is empowerment. You have the power to create a beautiful look on your own schedule and terms. You’ve Got This! Achieving a flawless wig install at home is a skill, and like any skill, it gets easier with knowledge and practice. By prepping your base, customizing your wig, and choosing the right securing method for your lifestyle, you can achieve that coveted, undetectable look every single time. Your Dark Shugar wig is designed to make this process easy. Now, you have the knowledge to make it incredible.
Learn more