Let’s be real: we’ve all seen those wig tutorials that make it look as easy as slipping on a hat. You get your gorgeous, ready to wear wig from Dark Shugar, you try to replicate the steps, and… well, let’s just say the result isn’t exactly what you envisioned. 🤦♀️
Achieving that undetectable, flawless wig install—the kind that makes people ask, “Is that your real hair?”—feels like a secret only salon stylists know. But what if we told you that secret is actually a simple formula?
The truth is, that salon-perfect finish is within your reach. It’s not about magic; it’s about method. With the right preparation, technique, and a few pro tips, you can absolutely master a DIY wig installation that rivals a professional job.
Grab your wig stand and your favorite moisturizer. We’re about to break down the step-by-step process to give you the confidence to install your wig like a pro, right in your own bathroom.
Pre-Installation: The Foundation of Flawlessness
You wouldn't build a house on a shaky foundation, and you shouldn’t install a wig on an unprepared base. This is the most crucial part of the entire process.
Step 1: Prep Your Natural Hair
The goal is to create as flat and smooth a canvas as possible.
- Braiding or Plaiting: For longer or thicker hair, cornrows are your best friend. Braid your hair flat against your head in a pattern that follows the shape of your skull (often back-to-front or in a circular pattern). This distributes hair evenly and prevents bulky bumps.
- The Wig Cap Method: For shorter or finer hair, a simple, low ponytail or pinning your hair flat might suffice. Always, and we mean always, follow up with a wig cap. Choose a cap that matches your scalp tone for the most seamless blend.
Step 2: Prep Your Skin & Edges
- Cleanse Your Scalp: Use a gentle alcohol-free wipe around your hairline to remove any oils or moisturizers. A clean, dry surface helps adhesives stick better.
- Protect Your Skin: Apply a skin-protectant product or a thin layer of scalp protector around your hairline. This creates a barrier between the adhesive and your skin, making removal easier and preventing irritation.
- Tame Your Edges: Gently style your baby hairs with a toothbrush and a light-hold gel before you put the wig on. This saves you from struggling to reach them later.
Step 3: Prep Your Wig
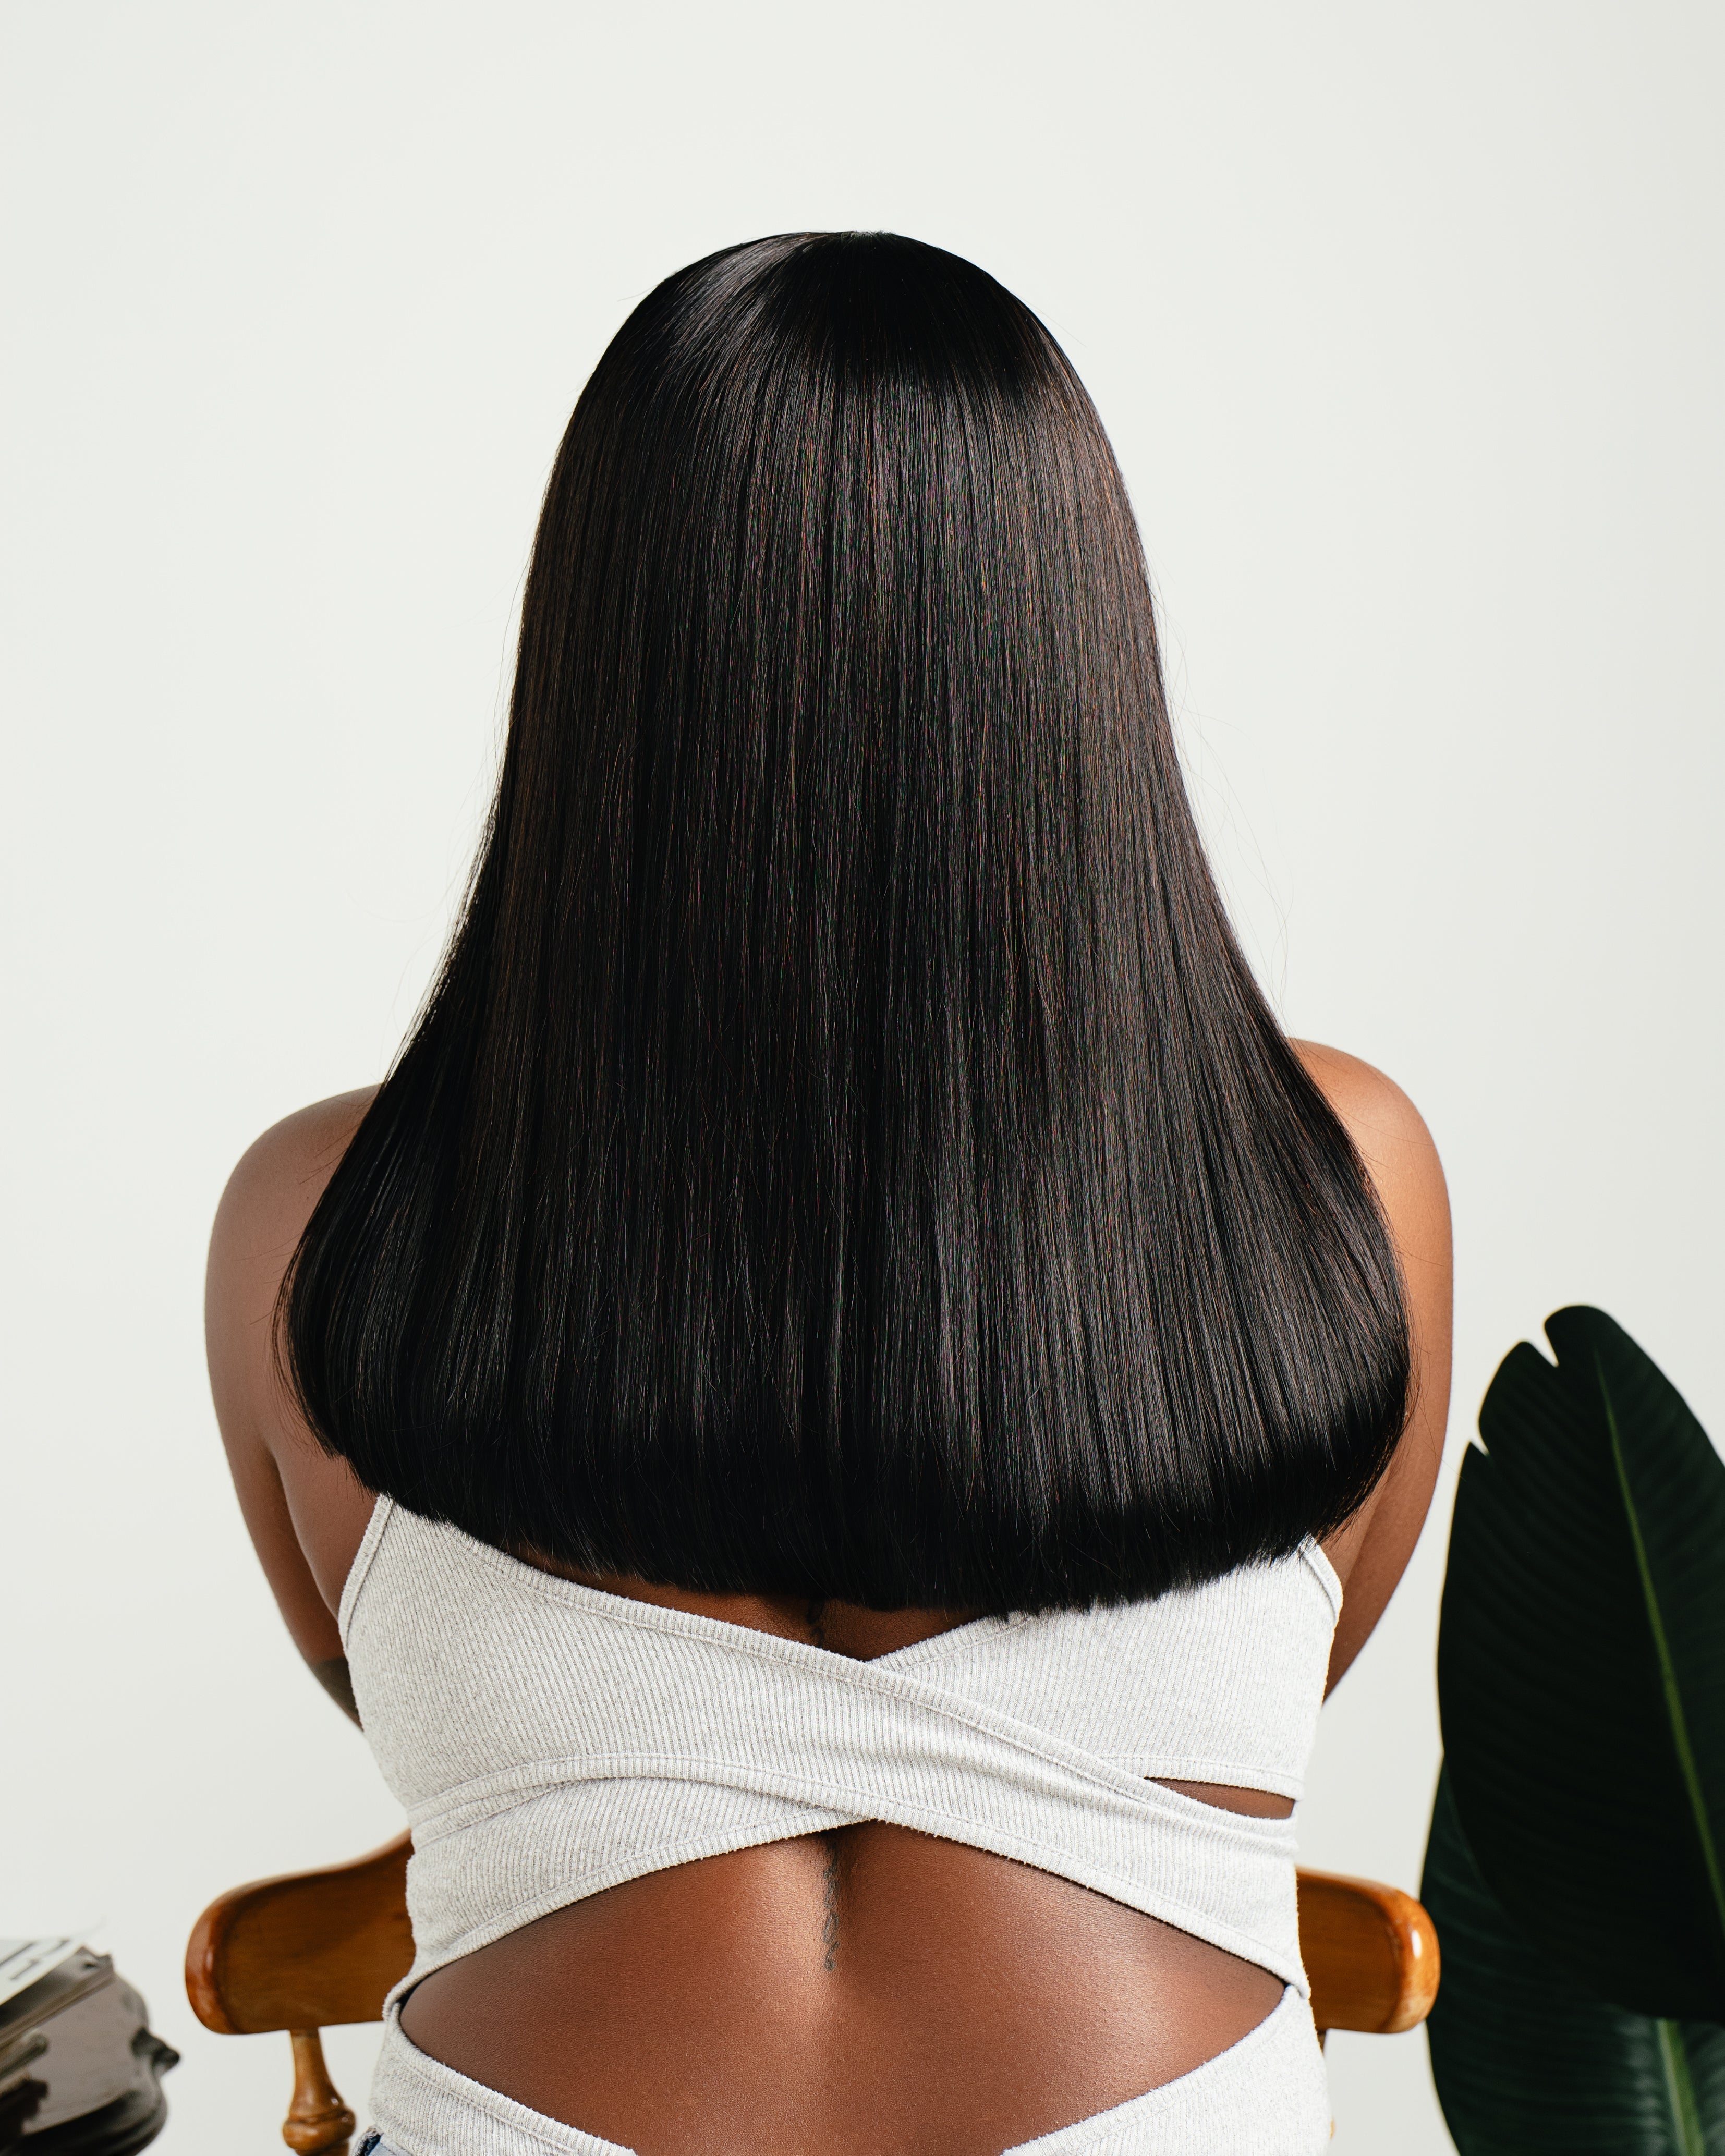
Your Dark Shugar wig is glueless and ready to wear, but a little customization takes it to the next level.
- Pluck the Parting: Use tweezers to gently pluck a few hairs from along the parting and the hairline of the wig. This creates a more natural, sparse look that mimics a real scalp. Go slow—you can always pluck more, but you can’t put hair back!
- Trim the Lace: Try the wig on over your cap and carefully mark where your natural hairline is. Lay the wig on a mannequin head and, using sharp scissors, trim the excess lace as close to the hairline as possible.

The Main Event: The Installation Process
Now for the moment we’ve all been waiting for.
For a Glueless Install (The Dark Shugar Specialty):
This is the fastest and most beginner-friendly method, perfect for our glueless wig tutorial.
- Position: Place the wig on your head, starting from the front of your hairline and sliding it back.
- Align: Ensure the wig’s parting is where you want it and that the ear tabs are aligned with your own ears.
- Secure: Adjust the adjustable straps inside the cap for a snug fit. Most glueless wigs have combs inside; gently push these into your wig cap or your own braids for extra security.
- Blend: The built-in baby hair around the wig’s perimeter is designed to be brushed out and blended with your own.
For a Glued/Lace Front Install (The Ultimate Hold):
If you need your wig to withstand wind, rain, or a vigorous headbang, this is your method.
- Apply Wig Grip (Highly Recommended): A velvet wig grip band is a game-changer. It wraps around your head, providing a sticky surface for the wig to cling to without any glue on your skin.
- Or, Apply Adhesive: If using tape or liquid adhesive, apply it to your skin along your hairline (following the product's instructions). Let it become tacky.
- Place the Wig: Carefully position the wig on your head, starting at the front and pressing the lace down onto the adhesive or wig grip.
- Press & Hold: Once the wig is in place, press firmly along the hairline with the back of a comb or your fingers (wrapped in a silk scarf) to ensure a solid bond.
- Let it Set: Give the adhesive a few minutes to fully set before styling.
The Final Touch: Styling & The Illusion of Reality
This is where the magic happens and your install goes from "good" to "Is that even a wig?!"
- Conceal the Part: Use a concealer or powder that matches your scalp tone on the parting space. This makes the lace disappear completely.
- Blend, Blend, Blend: Gently brush out the baby hairs of the wig and blend them with your own natural edges. Use a light-hold edge control to make them lie flat and natural.
- Style with Confidence: Now that your wig is secure, style it as you wish! Curl it, put it in a ponytail, or leave it sleek and straight. Because you started with a secure foundation, you can style with confidence.
Pro Tips for a Truly Flawless Finish
- The Right Tools: Have everything you need within arm’s reach: tweezers, sharp scissors, wig grip, adhesive, concealer, a mirror, and a hand mirror to check the back.
- Practice Makes Perfect: Your first try might not be perfect, and that’s okay! The more you practice, the faster and better you’ll become.
- Listen to Your Skin: If you're using adhesive, always do a patch test 24 hours before to ensure you don’t have a reaction.
- No Salon Needed: Remember, the goal of a DIY wig installation is empowerment. You have the power to create a beautiful look on your own schedule and terms.
You’ve Got This!
Achieving a flawless wig install at home is a skill, and like any skill, it gets easier with knowledge and practice. By prepping your base, customizing your wig, and choosing the right securing method for your lifestyle, you can achieve that coveted, undetectable look every single time.
Your Dark Shugar wig is designed to make this process easy. Now, you have the knowledge to make it incredible.